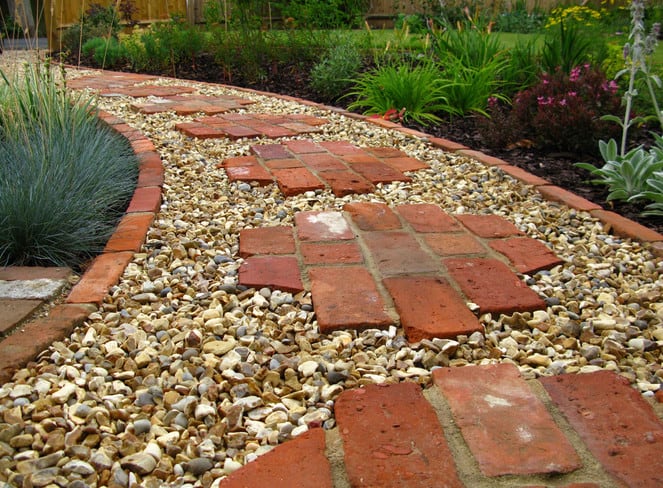
Brick pathways and patios are a popular DIY project among many homeowners in Sydney. They last for several decades when installed properly. There are various steps you need to follow when building your own stylish and attractive brick path or patio.
You need to select the right bricks for your budget and project. Bricks come in different types and styles. Bricks used for paving are harder when compared to standard bricks.
This is because paver bricks are fired at higher temperatures than standard ones. Their harder nature makes them ideal for making paths.
When buying new bricks, ensure you know their quality. Our Sydney landscaping experts say that even if you prefer buying reclaimed bricks due to their affordability, ensure you’re buying paving bricks. Pavers tend to be shinier and larger.
Some may come with imprinting on them. If you have any doubts about the bricks, knock two of them together. Pavers may produce a ringing sound while softer bricks may make a thudding noise.
Bricks also come with several colors to choose from. Some are beveled while others feature a tumbled style. You can also consider concrete pavers.
However, concrete pavers are different from bricks, but they often have similar sizes and shapes. Concrete pavers are also installed like brick pavers.
Proper Planning
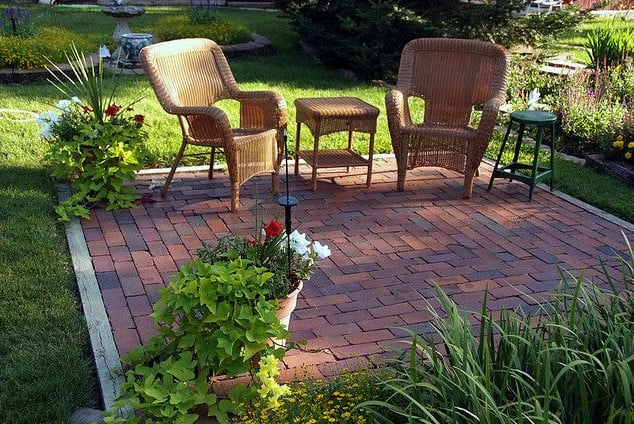
Every project requires a proper plan to succeed. The same case applies to brick patios or pathways. Sadly, some homeowners end up making small brick patios since they underestimated the space they require for furniture.
You should avoid making such a mistake by planning properly. For instance, place your patio furniture on the space you’ll be building your patio.
Arrange them properly around the space, just the way you’ll do it upon building the patio. Doing so will assist in estimating the space you’ll need for the patio. You can mark the patio perimeter with paint.
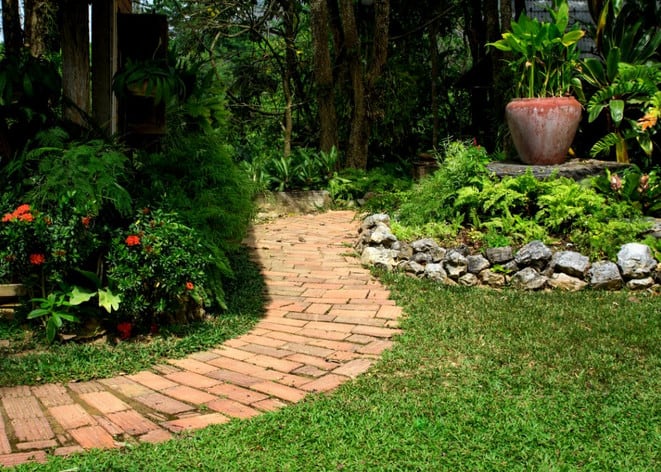
Ensure paths are at least three feet wide. However, you can have a wider path if you wish or if the available space in your yard allows. Set the pathway to connect different entrances such as the garage or front door.
How to Install Bricks
Installing bricks is extremely laborious. Thus, you should approach a brick installation project realistically. Some homeowners assume that constructing a pathway or patio can be completed over the weekend. However, that’s being overly optimistic.
Nevertheless, if you want to complete the project over a weekend, then ensure planning is done beforehand to reduce the needed labor. In that case, you can hire a tiller in advance to loosen the soil for easier excavation.
Also, you can use a compactor instead of a handheld tamper and a powered masonry saw to cut bricks faster and easily. Also, have the materials needed for the project placed near the worksite during delivery. You can also hire some handymen to assist with the project.
If you want a durable brick surface, then you should install the base properly. Simply scraping off your lawn and laying bricks over a thin sand layer will create an unstable and uneven surface.
The best installation needs a base of 4 to 6 inches and a 1 inch sand layer, then topped with bricks. You’ll have a total of about 8 to 10 inches.
Also, excavation should be done below the desired level of the brick surface and some inches past the edges. However, avoid digging deeper than necessary as you might be forced to backfill, which might create soft soil beneath the brick surface.
Consequently, some sections of the paving may deep. If you have to do some backfilling, compact it properly before laying the base.
Materials and Supplies Need
- Rake
- Mallet
- Stakes
- Sand
- Hammer, masonry saw, or chisel
- Vibratory or hand compactor
- Gravel and base soil
- Straight board
- Landscape fabric
- PVC pipe (1 inch)
- Plastic edging
- Bricks
- Level
How to Install Brick Pavers
Here are the steps to follow when installing pavers:
Step 1: Spreading the Base
Start with spreading the base evenly. Use a compactor to pack it. You can compact smaller areas with a handheld tamper. Larger areas require a compactor for less laborious work.
It’s advisable to apply the base up to half and compact it, followed by applying the remaining half and compacting it again. You can smoothen the surface by filling lower spots with additional base and raking the surface. Alternatively, shave off higher spots.
Compact the surface until it’s entirely even and smooth. You can lay landscape fabric on the finished base before applying sand for a more stable installation.
Step 2: Edging
Next, apply plastic edging along the paving area to define its perimeter. It’s important to do so regardless of whether the edges are straight or curved. Use stakes to hold the edging in place.
Step 3: Leveling the Sand
First, set two pieces of PVC pipe (1-inch per piece) some few feet apart along the section where you’ll start laying the bricks.
Next, apply sand (1 inch) on the section you’ve laid the pipes. Take the straight board and slide it across the two pipes to smoothen the sand. Avoid compacting the sand.
Step 4: Laying the Bricks
Place the bricks one by one according to the pattern you want. Use a reliable level to check for any brick that is higher than the surrounding bricks. Grab a mallet and use it to tap any unleveled brick until it becomes level with other bricks.
In case a brick is lower than the surrounding bricks, remove it and add some sand. Then replace it and ensure it is level. Continue placing the bricks in order. The edge bricks should be laid last as described in the next step.
Step 5: Adding the Final Touches
You’ll need a hammer or chisel to cut the bricks. A powered masonry saw would cut them more easily and faster. You can hire one from a local tool rental shop.
Measure one brick at a time. Cut the brick and place it along the edge. The cut side of the brick should face inward. Next, spread sand on the brick paving in a thin layer.
Compact the bricks with the sand on. Sweep the applied sand on the brick paver to fill small gaps that may exist between the bricks.
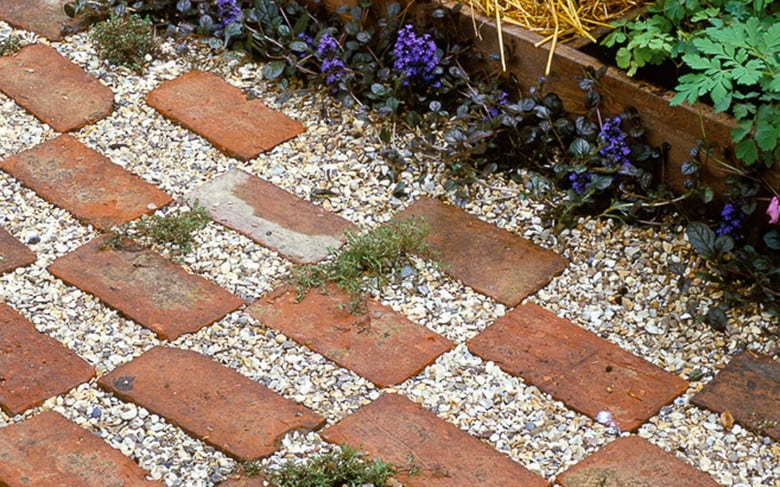
Choosing the Right Brick Pattern
There are several patterns you can apply when laying bricks. You can choose between classic patterns such as running bond, herringbone, running bond, and basket weave.
However, your final choice should be based on your personal preferences. However, some patterns would make straight pave edges without cutting the bricks such as stack bond and basket weave.
Also, such patterns often require less work. The shape and the size of the space you want to pave will also determine the amount of work required to pave.
Hire a Professional Landscaping Company in Sydney
Reach out to licensed landscaping professionals in Sydney such as NBG Landscapes to manage your next project. We have been in business for over a decade and have tons of experience working with both residential properties as well as commercial ones. Learn more about us over at our homepage nbglandscapes.com.au.
Related Articles