There are many types of plants in the landscape business that are very dependent on the acidity or alkalinity of the soil you plant them in. For example, if you don’t understand how to maintain proper pH level for Hydrangeas, you will find it very difficult to plant them.
Meaning of pH level
If you have forgotten your science lesson then let us remind you that pH level of soil is a measurement that starts from zero (very acidic) and lasts till 14 (very alkaline).
The soil is considered neutral if it has a pH level of 7. pH levels of soil change on the basis of organic and inorganic matter being discharged with via man-made ways like pollution in the air affecting the rainwater or naturally like leaves decomposing into the soil.
Why Should You Know the pH Level?
Having knowledge of the soil’s pH level is vital because every plant depends on a certain level of alkalinity or acidity to thrive. In case the roots of a plant do not get the proper pH level in the soil, a plant may not be able to soak up vital nutrients and minerals which can hamper the growth of the plant and may even cause its death.
Most of the plants prefer to have neutral or slightly acidic soil but there are plants like hydrangea that thrive only when you have very acidic soil.
How to Test the Soil?
There are two main ways of testing the soil. One is to hire a private lab wherein the experts will visit your home, take a sample of the soil and test it for you. They will charge a fee for this service and the results will be delivered in a few days time.
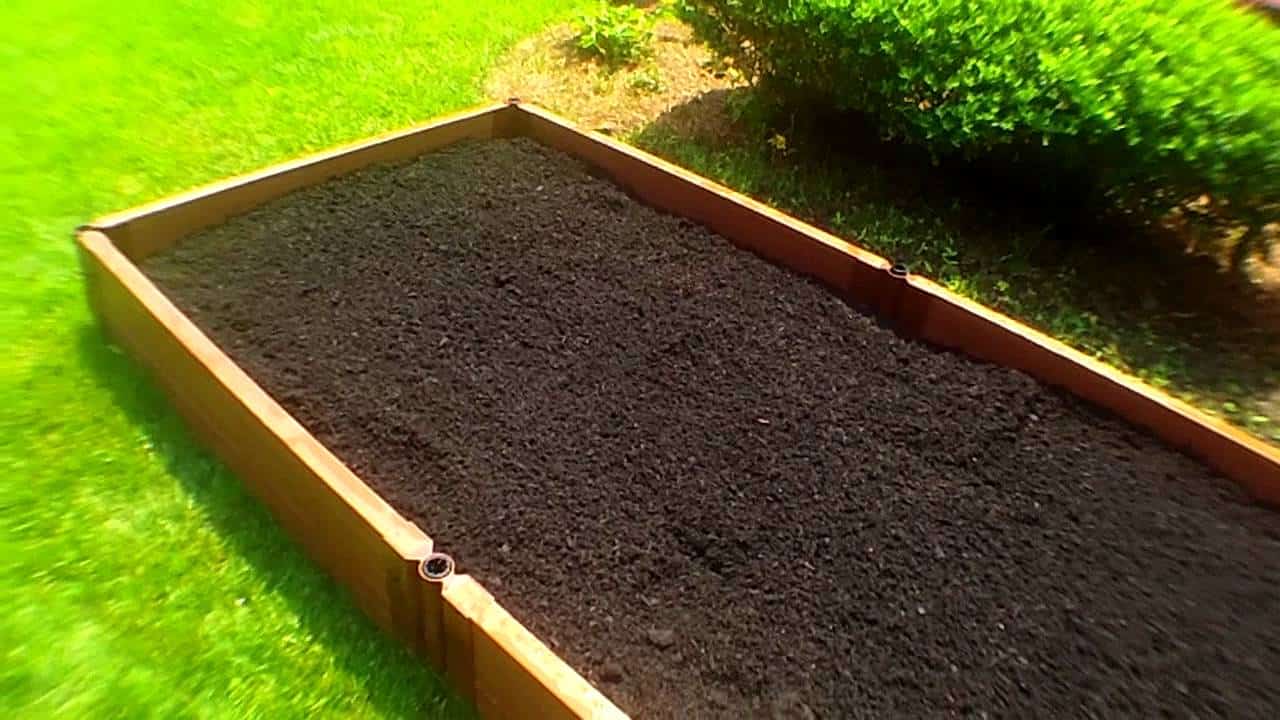
The second method is to buy a do-it-yourself soil test kits from a nearby garden store. After buying the kit, you need to collect samples from the centres of your garden or yard.
You also need to take samples from areas like open areas of the garden, underneath trees, areas that collect water and hilly areas.
You should also ensure that the soil is slightly wet before you take the sample. It is also essential to dig up soil for around 2-4 inches below the surface with the help of a clean trowel or other such utensils. Avoid any contamination during the sampling process as it may change the results.
After collecting the samples, you need to put them into clearly marked containers and label them according to where you dug up the samples in the garden, for example, a hilly area should be written on a label if the sample was dug from that location. Labelling will ensure that there is no confusion.
The last step is to follow the instructions printed on the soil test kit on how to finish the testing process. We can’t mention it here because it varies from kit to kit. Hope you get the real results and plant accordingly. Good luck!
Additional Resources:
https://www.dpi.nsw.gov.au/__data/assets/pdf_file/0003/167187/soil-ph.pdf
http://www.ccmaknowledgebase.vic.gov.au/shkb/brown_book/20_pH.htm